DIY: Chocolate Garnish
DIY: Chocolate Garnish


When it comes to celebrating special occasions it’s all about the details….edible details that is! Today’s DIY project is just right for Valentine’s Day or Bridal Showers and Engagement parties. Actually depending on what shapes you make it can be used for multiple themes. I created some cute and tasty chocolate garnishes that can be used with food or drinks. It’s an easy project with great results.


Here are 4 chocolate garnish ideas to get you started, and how to make them:
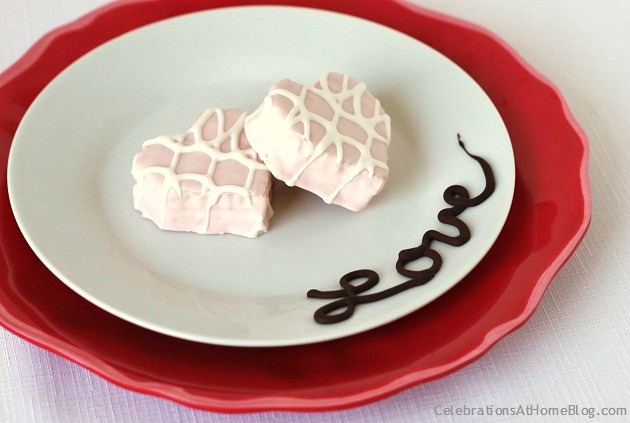
- Write the word “love” on the side of your dessert plates.
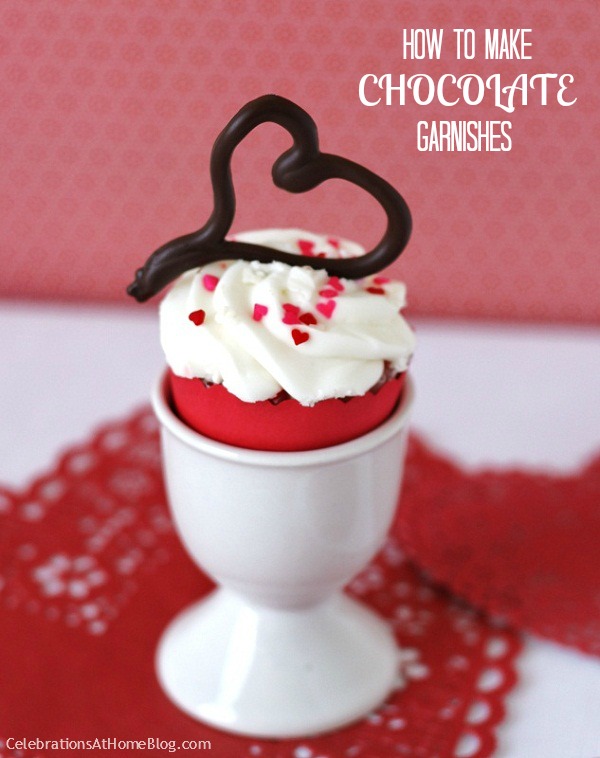
- Serve small cupcakes in an egg cup and top with a chocolate heart.
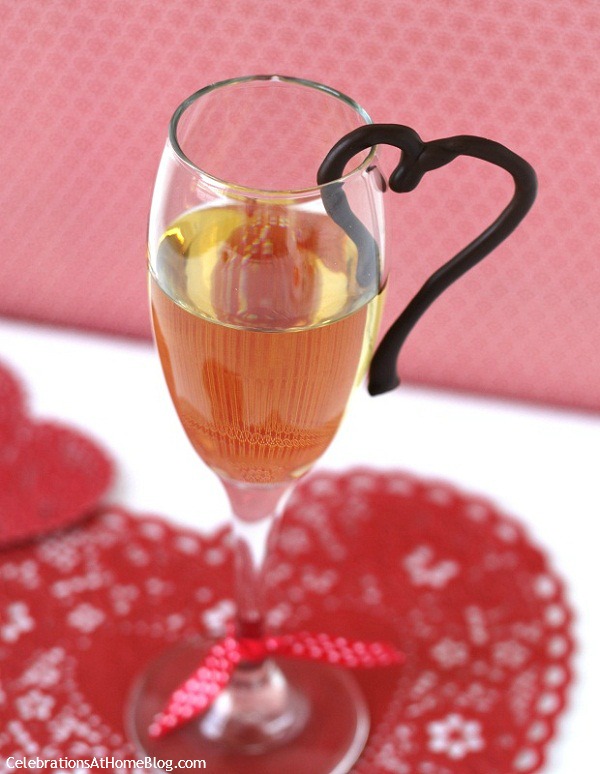
- Chocolate & champagne are a classic combination. Hang an open ended heart on the side of the champagne flute.
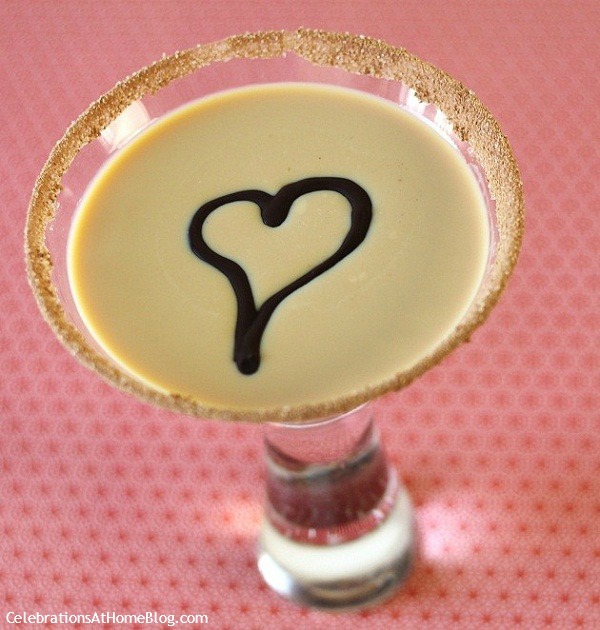
- Top off a chocolate liqueur cocktail or chocolate milk by floating a chocolate heart on the surface.

How to Make the chocolate garnish:
You will need:chocolate discs for meltingsmall squirt bottle from the craft store or baking supply store
- Begin by lining a baking sheet with wax paper.
- Melt your chocolate discs according to package directions, either in the microwave or with a double boiler.
- Pour or scoop melted chocolate into the squirt bottle.
- “Draw” chocolate shapes onto the wax paper using the squirt bottle, and place in the freezer to set up.
- When fully set, peel the wax paper away from the chocolate {as opposed to pulling the chocolate up off the wax, to avoid breakage}.
Tip: To write on the side of the plate, I placed the plate in the freezer first to chill it. This helps the chocolate firm up quicker.Make more than you think you need….just in case ; )

You can use this idea to create any simple shape. The hearts and “love” theme are great for so many occasions. You could also write “happy birthday” or “congratulations” or even write each person’s name on their own dessert plate! Cheers!
DIY: Chocolate Garnish
![]() Reviewed by trapatouni
on
2:31 AM
Rating:
Reviewed by trapatouni
on
2:31 AM
Rating:

